Pages

Thursday, February 23, 2012

It's been a while

Well, I've slacked off on blogging lately. Okay, I've slacked off on a lot of things lately. Stopped budgeting, to-do lists, and using my planner like a should. FAIL.

Re-starting now. Oh, and I am going to start working out TODAY. I've gained five pounds this year. I'm supposed to LOSE! I have this beautiful dress I'm supposed to look awesome and amazing in by July. Currently, that would not be the case. I WILL start today, though.

Anyway, Marcus and I went home this weekend. We got our pastor, photographer, decided on flowers, picked invitations, suits, and ties for the boys. We are doing our own flowers (I guess by we I should say me, since I'm sure Marcus won't be arranging Gerber daisies anytime soon). A friend told us about fiftyflowers.com, where you can buy flowers wholesale. Since we are doing gerber daisies all around and they are pretty easy to arrange, we are going to do them ourselves. Wish us luck on that one. We did meet with one bakery, who is absolutely yummy, but way more expensive than I thought they would be. So, we still gotta get the cake, but I think that's about it! THANK GOODNESS! Still on the lookout for cute shoes for the girls. I found some at Kohls I like, but I really want ivory instead of bright white, so we are still looking. These are the ones I like.

In great news, Marcus is almost walking!! Tuesday he took three steps to me! Awesome. Buddy is now potty trained! He still has some accidents, but he refuses to wear a pull-up at our house. He usually only has an accident in the car or when he's distracted watching tv or something. We also found a place to live! We found a three bedroom apartment for a good price, and its nice and spacious. Also, LOTS of storage. Praise Jesus, Hallelujah! We haven't signed the lease yet, but we are in the works.

Marcus and I celebrate one year this weekend. I also made him an awesome valentines day present, a picture is below. Life is good, and I'm getting back on the organization train...NOW.


I found this on, of course, pinterest. I just printed the maps from google maps, cut them into hearts, glued them to papers and framed them :) In our new apartment they will hang above my desk.
Lots of love~
Ang

Sunday, February 5, 2012

Weekend update

Superbowl weekend!

This weekend I got a lot of things done...cleaned house, organized some stuff and got some cooking done! I loved it. I also went to a Pampered Chef party at my friend Kim's house. I LOVE pampered chef...their stuff is SO darn cool.

Tonight we went to our friend Chaz and Katherine's house for the Superbowl. Our Patriots lost, but we still had a good time! I made the best corn dip ever (see below), and cookie dough dip that I found on pinterest.

I really vowed to get organized in 2012...and with all of January's craziness, it just didn't happen. February, though, has been awesome. I finally started using my planner and making a to-do list. It is CRAZY how much more gets done when you make to-do lists. Seriously. I'm now a believer in them. I have a notebook I carry everywhere and I can write everything down. Also, my grocery list has come in handy. I just love pinterest.

As for the rest of crazy life, Marcus should be able to walk in 4-6 weeks! We are still looking for a place to rent for the next year. If anybody knows of anything in the Rincon area, let us know!

Love and thanks ~

Angela

Best corn dip ever


I got this recipe from my friend Haley's mom. She made this corn dip at the lake once and I was HOOKED. So good. Like, I didn't eat corn before this dip, and now I eat corn. Yeah, I'm a freak. Anyway...you will need the following: 


1 can of Mexicorn
1/2 cup mayo (I use fat free, but regular works, too)
8oz package of cream cheese (I also use low fat)
1 package of shredded cheese - fiesta blend

optional:
diced jalapenos
bacon bits


Soften the cream cheese, then blend the shredded cheese and mayo in.


add the corn last so you don't break all the pieces of corn.
Sprinkle some extra cheese on top if you like extra cheesy food
Bake at 350 degrees for 45mins


and enjoy with tortilla chips.

Easy-peasy.
So yummy.
Make it once and people will request it at EVERY party, no lie.

Monday, January 30, 2012

Grocery List

Another Pinterest creation! I saw this idea for a grocery list that has a menu on the top, a list of things you buy the most, and then room for extras. It was on this website:

http://www.designsponge.com/2010/01/diy-project-kates-grocery-planner.html

But, I am computer illiterate and couldn't figure out how to edit the pdf's. Soooo I decided to create my own that was similar!


If you want to use it send me your e-mail and I can send it to you, you can edit it to your own liking. I went grocery shopping tonight and it only took about 30mins to get everything I needed! Miracle! LOVE IT. I got a clip board from one of my students for Christmas, so I just took some magnets (they have a sticky side you peel off) I had added them to the back of the clip board. It is now on the fridge! Marcus said he loved it because he feels like he can help make my list whenever he thinks of things.

I also put all of my stuff into Mint.com today, and made a budget for us. I'm really excited to finally be on the right track. Just pray I stay that way!

Yay!

Saturday, January 28, 2012

Homemade headband!


Okay, let me be honest here. My original plan was to make a vest out of this t-shirt. I found these awesome drapy shirts at gap this summer for 11 dollars. 11 DOLLARS! They fit perfect. So of course I buy three of them, because really, how often do you find awesome drapy shirts that fit perfect? (Hi, my name is Angela and I have a shopping addiction)

Annnywayyyy, so I wear them, I wash them, and they SHRINK. I promise I washed them in cold, dried on low heat. Whatever. They've hung in my closet since then. I try them on every once in a while hoping maybe something changed and they'll fit.

Well today, I try on the blue one again. Looks lame. So I have this a-ha! moment of pinterest inspiration and decide to turn them into an awesome drapy vest.


I cut the sleeves off.


Cut down the middle


Cut the arm hole in the back wider. Put it on, thinking man, this is gonna be awesome.
One word.

Fail.
No, two words.

Ultimate Fail.
There's a reason they use big shirts when they make those things. So they'll drape IN FRONT of you, not weirdly at your sides/on your back.

So I think, Oh! saw a t-shirt scarf on pinterest, maybe I'll try that. But since I cut down the middle I could make that either. double fail.

Then I thought maybe I can make a braided headband. I think I saw that on there once. Couldn't find it. But since I had already cut the dang shirt to pieces, I thought I'd do it from my brain.

So....

Cut three long pieces out of the shirt, like so ^. I would cut across the shirt, rather than up, that way your headband is long enough to go around your head. My headband had to be extended because the way I cut wasn't long enough to fit my big head :)


Tie the three pieces together at the top so it's easier to braid.


Then braid. I held the knot in my mouth for easier, tighter braiding. There may be an easier way to do this, I'm not sure. Also, please notice my "Pretty Girl Rock" St. Patty's day shirt from Savannah last year. :)


Braided pieces! Now tie it around your head, and cut off extra ends. I used a stretchy jersey shirt, so I tied tightly and it stretches around my head. Like I said before, I had to extend it. I used an extra piece of the shirt and tied it on the ends. That part obviously goes in the back.

The final product:


It's actually staying on pretty good. I may try to run with it later and see if it stays, because I can NEVER find one that stays. Yay!


Tour of my classroom


Okay, so I've decided to share my classroom. Just for the heck of it...because I spend so much time there, why not share what it looks like? So here is a lovely tour of my classroom. I will probably add more to this post, as I did not take pictures of everything I wanted to take pics of.


First, let me give any new teachers some advice. Those machines where you cut out letters to make bulletin boards, signs, sayings, etc...they are TIME CONSUMING. Sometimes they're nice. and if you do it a little at a time, I am sure its worth it provided you save everything every time you change your board. I, on the other hand, am impatient. I think of something and want it done RIGHT then. I also like to color and paint. Most of the sayings, posters, and bulletin boards are things I wrote or painted on paper and canvas and laminated. I think it makes things more colorful and shows a little more of my personality.

I got a lot of my ideas from other teachers, particularly my friend Ashley, and then I adapt their ideas to fit my teaching style.


This is where my students turn in their work. I originally used the black trays for students to turn in work, but their papers ended up everywhere, so I switched to the clear drawers, that way there is no way I lose things. I use the black trays for work that needs to be returned. All of my books, coach books and workbooks are stored on that bookshelf. The students will keep whatever book we are using that day under their desks, and when we switch books they go back on the shelf.

I have a bucket for extra pencils. I hate pencil sharpeners, so I already have those sharpened. This is also where my tissues and germ-x are.

 The sign on the right is for the "Unit Essential Questions". I put a strip of velcro down the middle. I wrote the essential questions on sentence strips and put velcro on the back of those. Each unit I just switch the questions out and leave the sign up. I store them on the inside of my big cabinet in labeled folders (I'll get a picture of that up soon)


I have boxes under each row of desks that have scissors, rulers, and markers. This way when we use those items they can just pass it back.


I have stations around my room. This board is to practice government, economics, and religion, which are covered heavily in the standards I teach. The basics are on each card, and they match them up. I put felt on the boards, and velcro on the back of the cards. Each set goes into a folder that velcros onto the board. They also have magnets on the back so we can do them on the board as a class when we need.


A close up of my activity board.


This is my desk, which looks crazy in this picture. The line on the floor is something the kids can't cross unless they ask. Some kids don't understand "personal space". These are the very same children that forget about the line and stand right next to your chair without saying anything. Then you look up, are startled right out of your mind and they're all up in your face. If you are a teacher, you know what children I'm talking about. But we love them anyway. :)


My "Map-it" Section, another idea I stole from Ashley. I used a projection machine to trace the maps on poster board, then colored them. There are no labels. Instead, I put velcro on the area's that they have to know. Then I made labels with velcro on the back, so they can place the labels in the appropriate spot. The labels go in the envelopes, and the kids can practice their physical/political features.


Map of Canada and Australia :)


This is my "anchor work" center. I'll be honest, I'm not that diligent with anchor work, but I'm working on it. Students put their completed work in the folder for their class. The folders you see in the sideways boxes are for student work. Anything that is "basic" knowledge for our standards go in those for when we study for the CRCT. My marker boxes also go on this shelf when we aren't using them for a while.


Seven Habits board and "Shooting Stars" is for exemplar work


And these are the essential questions for the whole year - ones that are covered in every unit!

And that's my classroom :) I'll add more when I get the pictures.

Sunday, January 22, 2012

Monkey Bread Muffins

If you are looking for a healthy breakfast, this is not for you. Please back out, go to another website. Notakeout.com is a good place to look. If you see this, you will want to make it and eat it. It is toooo yummy!

One of my favorite things about Christmas is Monkey bread. Its an amazing treat and a tradition that I will certainly carry on if I ever do Christmas breakfast at my house. A few years back I wanted Monkey Bread but I didn't have a bundt pan, and I didn't want to make that much of it because I knew I would eat it all and gain 50lbs immediately following eating it. Then, I came across a recipe for Monkey Bread Muffins. PERFECT. So, here you go....

Heat your oven to 350. You will need buttermilk biscuits, cinnamon sugar, brown sugar, and butter. I buy the butter tastin' biscuits because I just love butter.


Cut the biscuits into fourths or fifths. I usually do fourths, but smaller may work better.


Roll the pieces into balls and roll the balls in cinnamon sugar until they are covered.


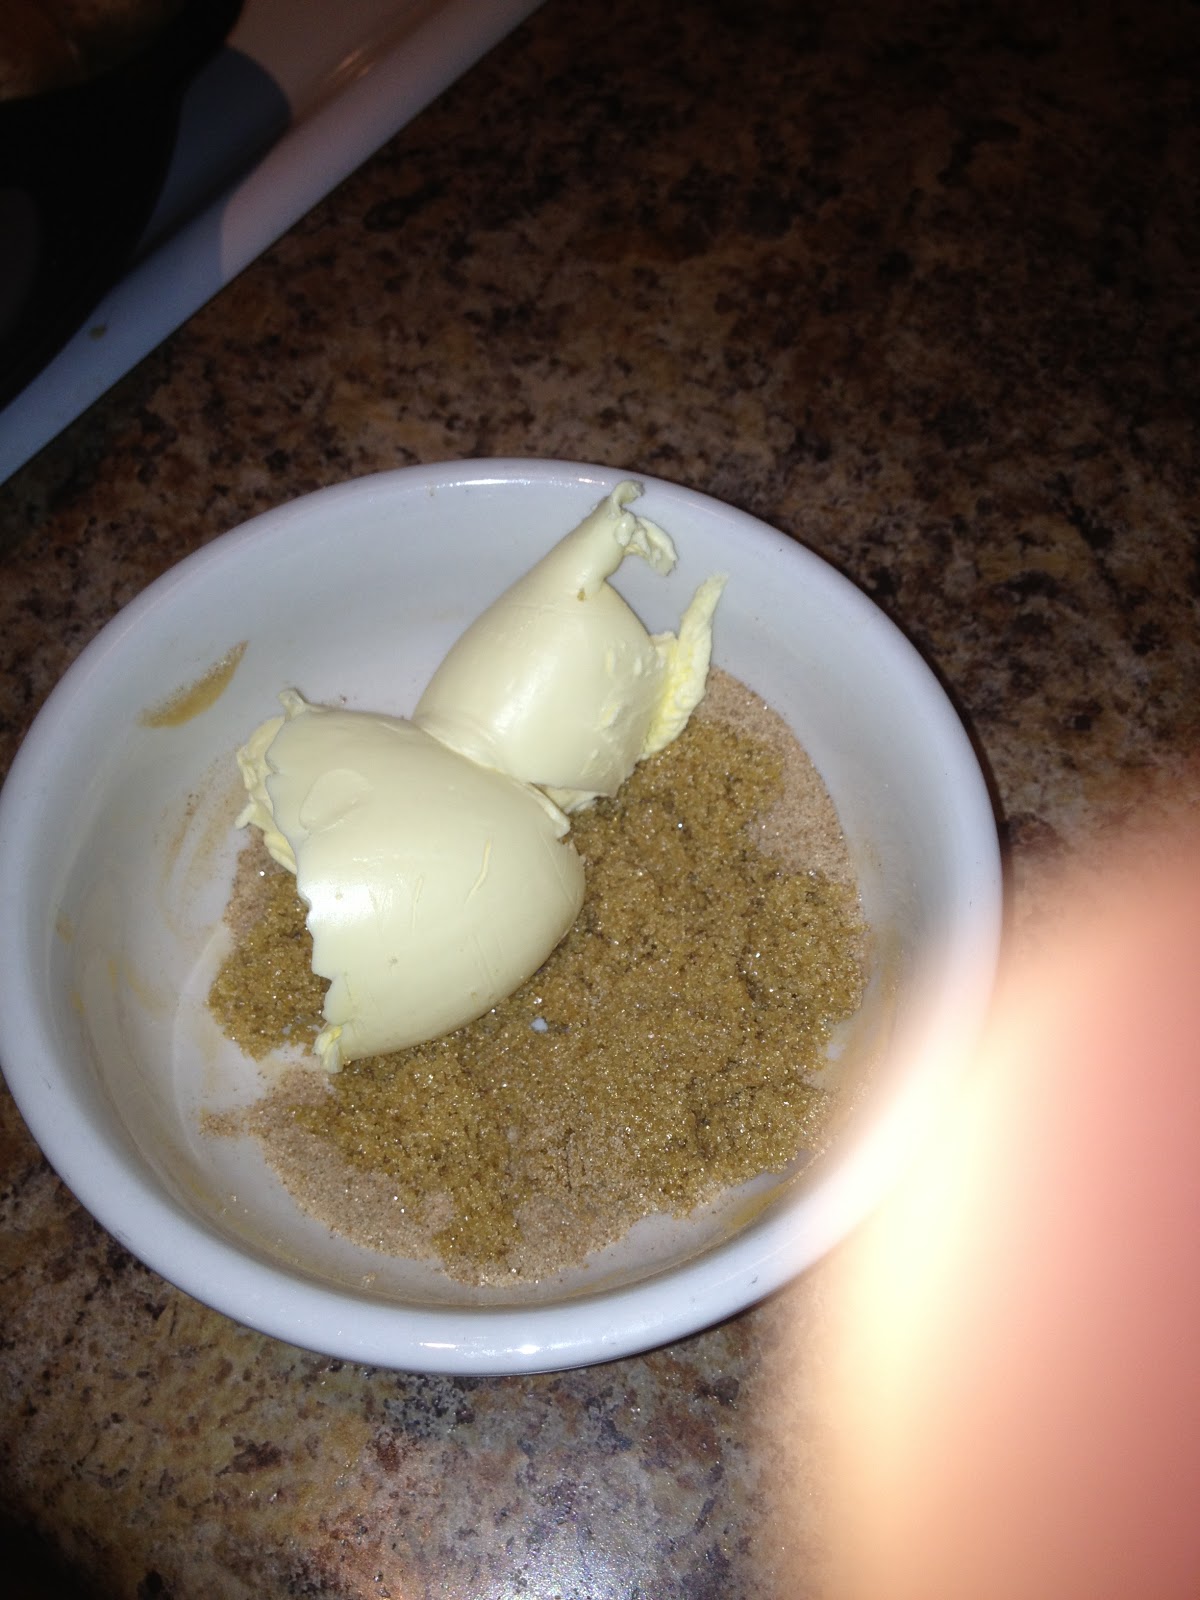
 Put four or five balls into each muffin space. Mix equal parts butter and brown sugar in a bowl and microwave about 30 seconds.


 Mix together and pour over each muffin like-so: 

That mixture of brown sugar and butter is sinful. Honestly, its amazing.

Bake 15-20 mins at 350 degrees. Take out, and enjoy!


Then run five miles in order to work off half of one.

Enjoy!!